Tuesday, May 25, 2010

snapppy top

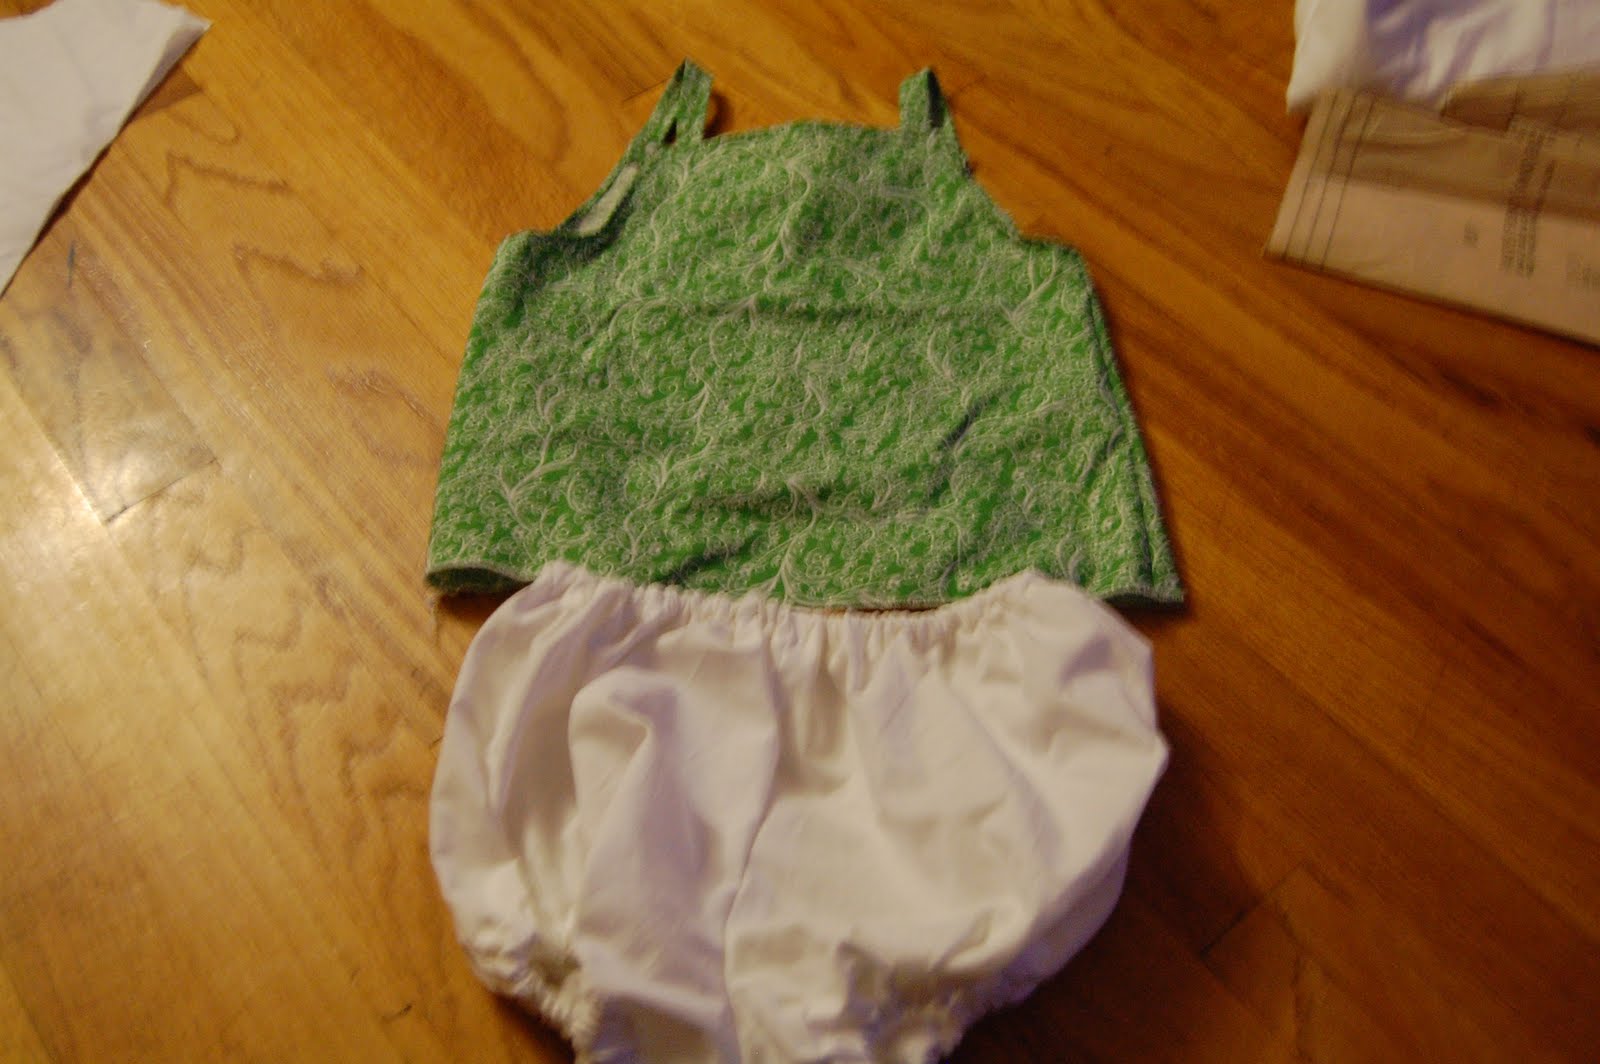
I found this pattern over at prudent baby and I was so excited. I have been wanting to try this type of top but was not sure how to do the collar. She made it very easy.

Daddy had some issues with this outfit (Daddy's favorite team is the Chargers). It was not for Savannah, it was a birthday outfit for my niece. But I wanted to make sure it would fit so I had Savannah try it on. Savannah is 9 months and in the 75% and the birthday girl is 1 year now and in the 25th% so it's a perfect match, I think.

I have a standard bloomers pattern that I use for everything an just made the shirt a little longer but not to long so she could still crawl. I will be doing another outfit for Savannah, in the appropriate fabric though.


I found this pattern over at prudent baby

swing top


I had plans to do a tutorial on this little number, however I am trying to learn how to use my camera (not on auto) and the pictures didn't come out to well. A little blurry as you can see in some of these pictures.

If anyone would like a tutorial anyway just let me know and I will put the pictures up. I do love the way it came out though.


I changed the button, the original was to heavy and weighted it down.


http://sumossweetstuff.blogspot.com/" target="_blank">Sumo Sweet Stuffhttp://i231.photobucket.com/albums/ee180/juliewuliee/Headers%202/sumo/marketyourselfcopy-1.png"/>


Photobucket


Show and Tell Green

Wednesday, May 19, 2010

I can't get enough


I just can't get enough of those ruffles! I think my daughter will be in them until she can protest.

I got the rose hair clip tutorial from purlebee.

The rose is a a picture I got off line and just made it a freezer paper stencil.

This outfit was more of an accident. I started off making this for birthday gift we have this weekend. It was suppose to come out like this one. I always put the ruffles on before I put together the garment. I didn't realize the way the bloomers were I was putting them on the side and not the back. I wasn't sure how I wanted to proceed, take it apart, or start over, so I put it aside to think about. After I made the birthday girl another outfit (tutorial to come tomorrow) I went back to this one (After all I had already put a bit of time into this out fit). I just decided to add the ruffles to the other side. I love the way it turned out.


sharing at Women Who Do It all

Show and Tell Green


make it wear it


giveaways

Saturday, May 15, 2010

Walking

I got my inspiration for this "infant walking assistance" Here at Make it and Love it.

I liked her idea, I just changed mine up a little bit. I did use her measurements. I used a buckle for the back instead of Velcro and used 2 straps to hold instead of 1.

Although my little porker is pulling up and walking a little while holding my hands I might have jumped the gun here. I will keep trying with her. Either way it will get a lot of use at some point.


here is the buckle

action shot


http://sumossweetstuff.blogspot.com/" target="_blank">Sumo Sweet Stuffhttp://i231.photobucket.com/albums/ee180/juliewuliee/Headers%202/sumo/marketyourselfcopy-1.png"/>


Photobucket


Photobucket

Thursday, May 13, 2010

Leapster bag tutorial

A few weeks ago I was contacted by a follower asking for a tutorial on the Leapster bag. It is finally done and ready. And with this extra bag we made a pretty good deal...she gets the bag in exchange for help with photos. I am so excited. YEA!

This bag can really be used for anything.

Things I did differently than the one I originally did:
made it a little bigger
made strap longer

I bought 1/2yd of outer and inner fabric. Which gave me plenty left over.


First I placed the Leapster on the inner fabric and cut around leaving room on all sides.

All fabric cut: Measurements I used:

10x9-2 of each fabric- front and back
2.5x9- 3 of each fabric-sides and bottom
10x7.5-1 of each fabric-front flap
3x27-1 of each fabric-strap
8x6-1 of outer fabric-pocket

First the pocket. Might be the hardest to explain.
-fold over and sew the bottom and top
-place pocket on front outer fabric: you dont' want to stretch it tight,

like this, then stitch the sides down

Then sew the bottom closed


I waited to sew the Velcro on until the pocket was on this way I knew they would match up


Then pin fabric right sides together and sew all the sides

I placed mine over a wipe container to stand up straight, then pinned the bottom, and sew


Repeat all steps for liner and outer bag

pin wrong sides of front flap, sew leaving a space to turn and top stitch

Repeat for the strap
All parts sewn


Layer this way: turn the outer bag inside out, place the strap in bag fabrics facing each other


Leaving the edge hang over

Like this

Next pin the flap, like you did with the strap...a little over hanging and outer fabrics facing each other

Then place the lining in, right side of fabrics facing each other, sew leaving a space for turning.

Once it was put together I placed a piece of Velcro on flap and then bag so the flap would stay closed.

Top stitch and all done.